


 Glassware makes a rewarding subject for a still-life photographer. Any glass item can be used but strong, distinctive and unusual shapes are usually more interesting. Look for stylish, simple and elegant lines and subtle colours. Clear glass items also make wonderful images.
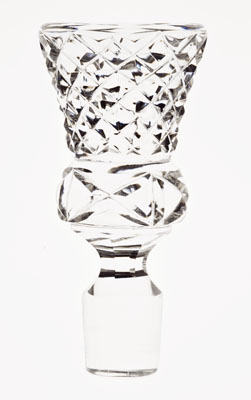
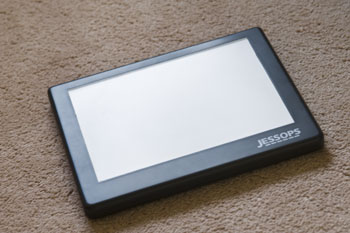 Back-lighting often works well, and there are numerous ways in which this type of lighting can be set up. However perhaps the simplest method of photographing a glass item, given appropriate shape, is to place it flat on a lightbox or light panel such as the one shown on the right. Switch on the panel, position a camera to look vertically down at the subject and release with an exposure compensation of about +1.0 EV. The decanter stopper on the right was photographed using this basic approach.
Another approach is to fire a flash at a white wall or screen at least a few feet behind the glass object. The flashgun should be below the level of the table on which the glass is positioned, and directed upwards at about 45 degrees towards the background. A dark coloured table or surface is ideal because it helps to produce a dark rim around the edges of the glass. Continuous light sources can be used in a similar manner.
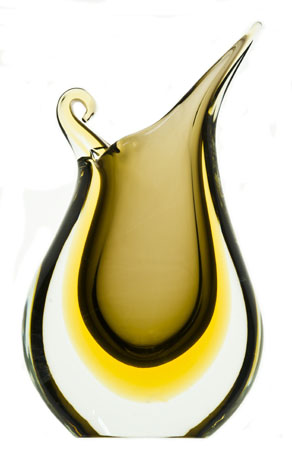 A different but also very simple lighting technique involves under-lighting. Position a glass object on the face of a light projector so that the light is directed directly upwards through the glass. Spillage of light around the outside of the glass should be avoided, so it is necessary to arrange for the base of the glass to fit neatly into the light source. Alternatively, place the object on a sheet of black art paper in which a hole slightly smaller than the base of the glass object has been cut. The light from a light panel is then directed up through the glass and does not spill elsewhere. An elegant coloured-glass object photographed in this manner against a black background can produce a stunning image. If a transparent glass is filled with coloured liquid, and photographed in this manner, the liquid can take on an interesting ethereal glow.
Transparent cut-glass items, such as those used for wine or spirits, may be photographed against a light background by placing a small light panel beneath the base panel of a light cube. The light panel is usually best aligned so that its longer side runs from the front to the rear of the light cube. The glass is then positioned on the base of the light cube, on top and well to the front of the light panel. Rolls of black paper placed either side of the glass produce black reflections that help to define the outline of the glass. The light cube is then lit by a couple of sources from outside, hence providing soft and diffused lighting.
When a black background is required, the glass should be placed on a suitable hole cut in a sheet of black art paper and placed on a light panel concealed beneath the base of a light cube.. The black background should sweep smoothly up behind the glass to create a seamless background. The glass is then illuminated by one light from behind the light cube that is directed over the top of the black background.